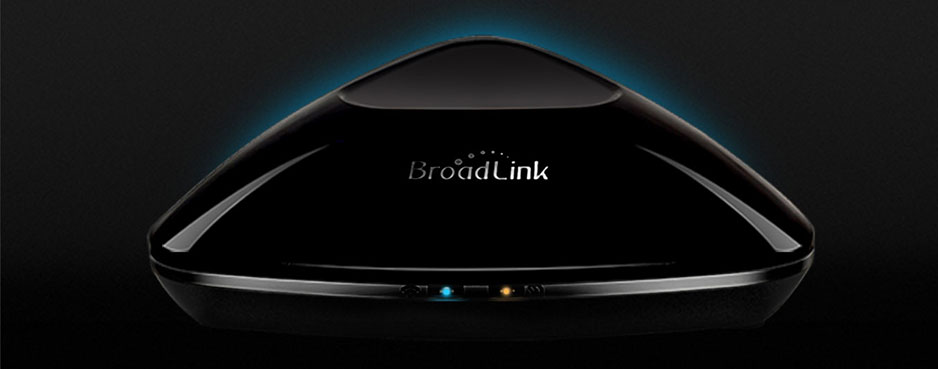
I’m sure you know the IR/RF Wifi bridge RM2 or RM-Pro from Broadlink.
As a reminder: this device allow you to control your infrared (TV, amplifier…) or RF (remote plugs…) devices from your smartphone.
The scheme is simple: the RM-Pro learns each command from the original remote and is able to repeat it.
It’s not the only one you’ll say: Kira 128, Global Cache and other DIY projets. Yes, but the RM-Pro is sold around 40€ (you can have a look at its direct competitor Orvibo, more open but unable to learn RF codes).
So, how to integrate this tool to our home automation? Quite impossible. Quite, except for two furious guys whom we owe a great thanks: Fabien Lefebvre and Jochen Ruehl (PAW Server‘s creator).
Those two have beaten the impossible: decrypt the very exclusive Broadlink SDK and convince them to accept the creation of a third part tool.
They have created RM Bridge. Thank you!
Update : New RM Bridge 1.2.0 rev
The new RM Bridge now just needs an Android device to configure codes and send commands.
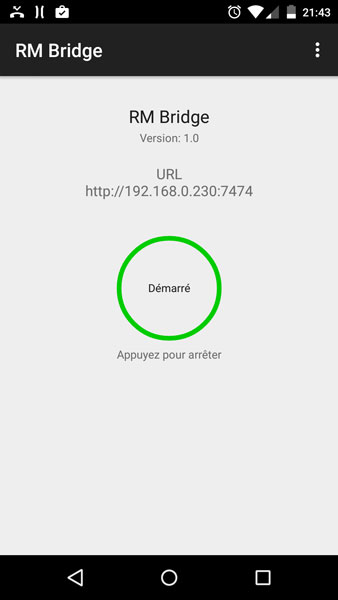
Download the RM-Bridge app on Google Play. Install it on your Android device. Get its IP address (which you have fixed before) and remember the port number.
Then rendez-vous here, on Jochen’s website, to configure your different IR or RF devices with the assistant he has created.
You can now use really simple http request of this type:
http://BRIDGE-IP:PORT/code/COMMAND-NAME
How does it work (using the Windows RM Commander Tool)
The set up is not so simple and it can’t be really called an API. Broadlink is refusing it and the Android SDK is necessary to communicate with the RM-Pro.
Fabien and Jochen have had to design a bridge to link to the RM-Pro: RM Bridge. The working is the following:
script > RM Bridge > RM-Pro > IR or RF device
Set up
UPDATE : the new RM Bridge 1.2.0 has just been released! You don’t have to use the Windows tool anymore and just need an Android device.
To communicate with the RM-Pro you will need:
- an Android device to host the RM Bridge app (a smartphone, a tv box…)
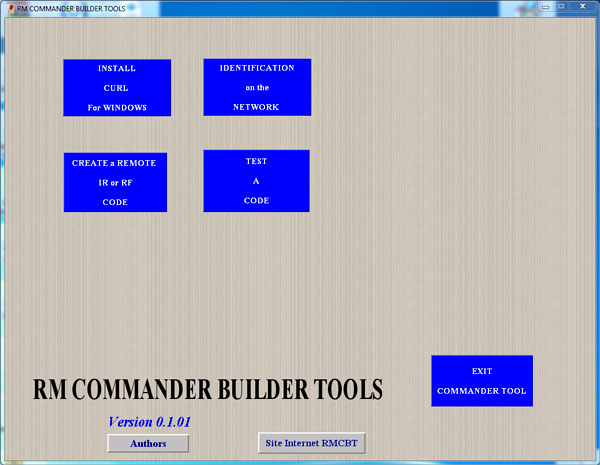
- a Windows PC to run RM Commander Builder Tools, the tool to learn your IR and RF devices codes
- don’t forget that everybody has to be on the same network!
1- Install RM Bridge
Rendez-vous on the website Fabien has created to introduce RM Bridge: domo-assist.
Follow the link to the Google Play RM Bridge page and install it. Don’t forget to start the server once the installation is finished.

2- Install RM Commander Builder Tools
RM Commander Builder Tools is the tool Fabien has created to learn the codes of your IR and RF remotes.
It is using Curl: install it first if you don’t have it on your Windows. Download it here.
Make sure to install Curl at the root c:/curl/ of your hard drive otherwise RM Commander Builder Tools won’t find it.
I also had to copy the files in c:/curl/bin/ to the root c:/curl/ otherwise RM Commander Builder Tools didn’t find them.
Then download RM Commander Builder Tools on domo-assist and install it.
Set up your RM Bridge IP adress and port.
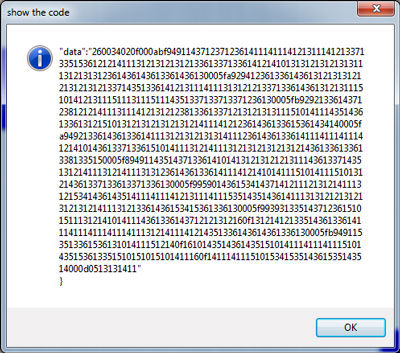
Then follow the instructions to record your first codes. They will be saved as .cbe fies in c:/coder/codes/ .
3- Using RM-Pro with a script through the Android RM Bridge
Here is the part we are interested in: integrate the RM Bridge and the RM-Pro to a home automation system. Concerning myself and for this tutorial, i use Jeedom. You will also find the Linux and DOS uses on domo-assist.
So how does it work?
Jeedom will run a script which needs several files, including the codes you recorded, to send a command to the bridge which will translate it for the RM-Pro that will remote your device.
Lost? Don’t worry, actually the command execution is very fast!
Get the necessary files
You have to get these elements from the folder c:/coder/ and transfer them to the folder of your choice in Jeedom:
- ini.d2l
- choice.d2l
- all the content of the folder c:/coder/codes/
It’s now time to create the new script sendir.sh with the following content:
!/bin/sh

echo $1
echo $2
echo $3

curl -H "Content-Type: application/json" -X POST -d @$1init.d2l $3
curl -H "Content-Type: application/json" -X POST -d @$1choice.d2l $3
curl -H "Content-Type: application/json" -X POST -d @$1$2 $3
It’s now time to add the good request to tell Jeedom what to execute and how.
/usr/share/nginx/www/jeedom/plugins/script/core/ressources/sendir.sh /usr/share/nginx/www/jeedom/plugins/script/core/ressources/ denonoff.cbe http://xxx.xxx.xxx.xxx:xxxx
The first part indicates the location of the script sendir.sh:
/usr/share/nginx/www/jeedom/plugins/script/core/ressources/sendir.sh
The second part is about the folder where you stored your IR and RF codes files:
/usr/share/nginx/www/jeedom/plugins/script/core/ressources/
The third part is the name of the IR/RF code file to read:
denonoff.cbe
And the fourth part is the IP adress + port of your RM Bridge (take a look at the screen of the app).
Be aware to add a space between each part!! (take a look at the complete request above)
Now you just have to create as many commands as different codes you have.
Done! You have a Jeedom (or more generally an home automation system) that speaks IR and RF for just 40€ and a little work!
If you have any questions about the subject, Fabien has created a dedicated forum.
A huge Thank You to Fabien and Jochen for their great work!


mai 05, 2016
Is this possible on Raspberry pi?
mai 05, 2016
Nope because the software only runs on Windows. I’ve switched on an Orvibo + Jeedom ;)
février 02, 2019
you have a jeedom plugin for broadlink (jeedom can run on rpi)
août 08, 2016
I get an error on my RM PRO PLUS that it is not an RM2 so I guess the sw doesn’t work with the newer models :(
décembre 12, 2017
Do you need the android interface running or can the entire bridge be just running on windows – assuming its a webserver interfacing with broadlink.
Is there an end to end window or linux version that one can use
décembre 12, 2017
Android interface has to be running. Windows app is just made to learn/create IR codes.
About your second question: see Jeedom and RM plugin.
août 08, 2019
RM Pro + not working